The Oil Cooler Problem (And Everything Else)
Once I got properly stuck into things when the engine was out, it was amazing to see just how much oil there was leaking from various places.
If you remember from the engine rebuild story, it was the oil cooler that was the main reason to pull the engine. But that was just one leak of many.
The old push rod tubes were completely knackered, and most of them were sealed with old oil. Getting the old ones off was pretty straightforward—just a case of getting the rocker covers and rockers off, then pulling the push rods out.
Important: Label Everything!
Make sure you label the push rods up as you remove them and take photos so you know the order and direction to put them back in. Trust me on this.
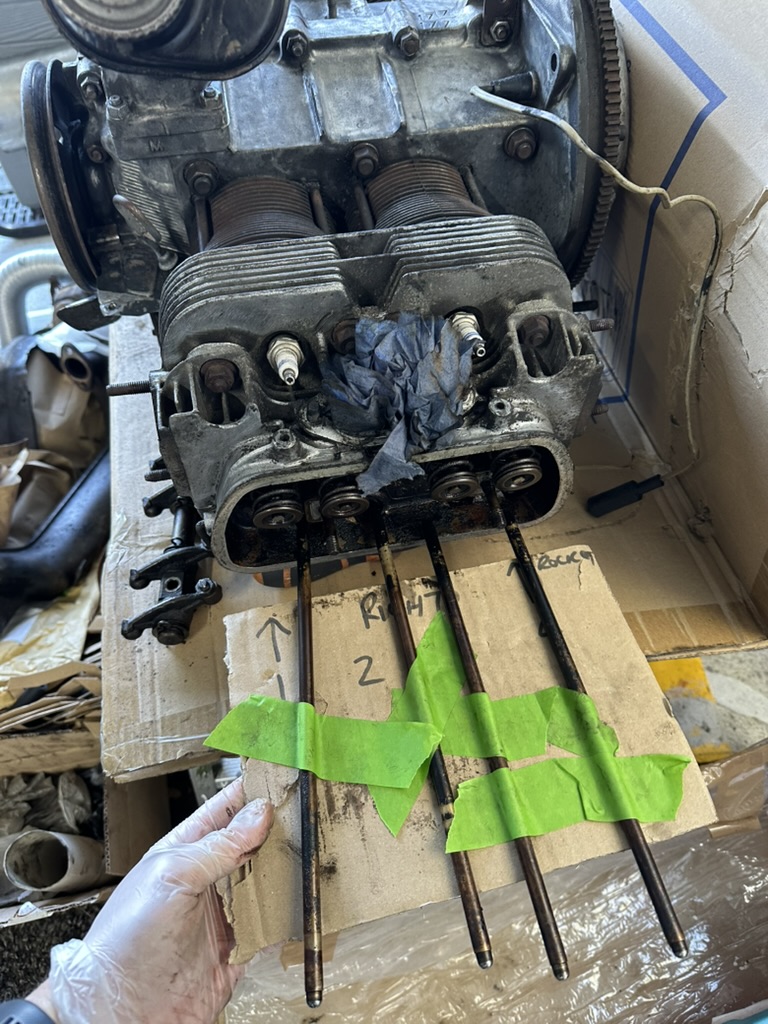
Old tubes off, labelled up in the order of the push rods. Cleaning the old oil off before fitting the new ones.
Getting the Old Tubes Out
Once the rods are out, getting the old push rod tubes out will take a bit of encouragement. Grab a big screwdriver and just bend them out—they're useless anyway, so don't worry about being delicate.
Then give everything a good clean with brake cleaner . This will make it nicer to work on, but also help make sure your new tubes have a clean seal.
Upgrading to Fast Fab Push Rod Tubes
I decided to upgrade to Fast Fab Push Rod Tubes instead of the standard ones. These are spring-loaded tubes with proper o-rings—much better quality than the originals.
They're not cheap, but neither is pulling the engine again because your push rod tubes are leaking. Buy once, cry once.
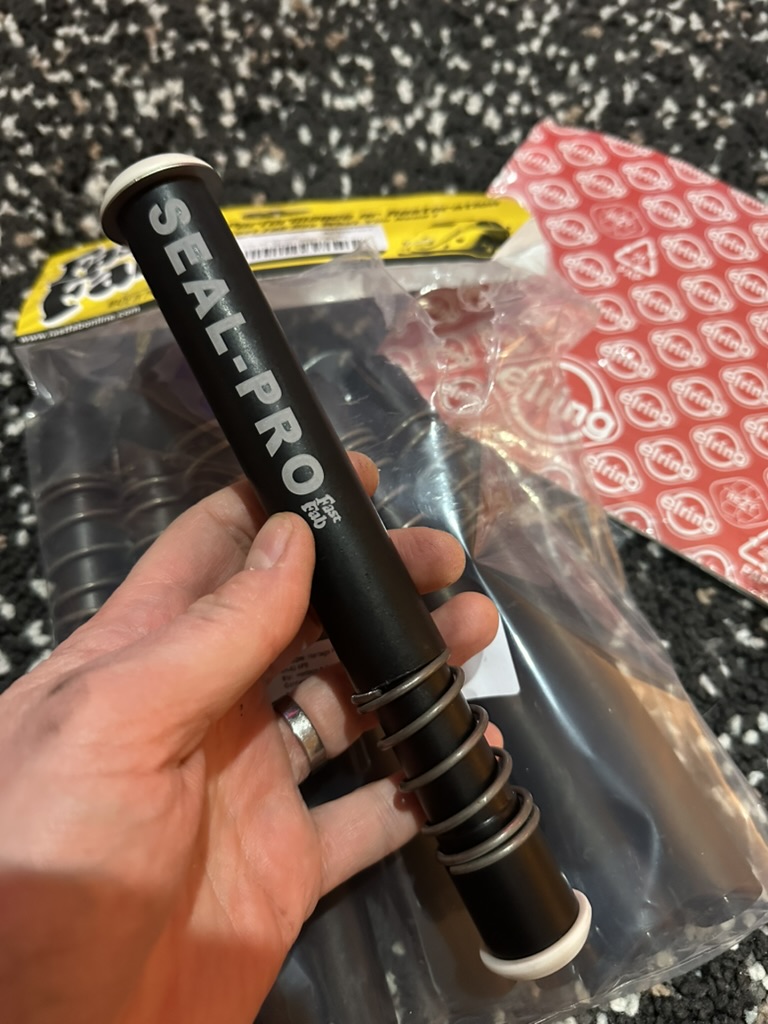
New Fast Fab Push Rod Tubes ready to go on. Much better quality than the standard ones.
The Mistake I Made (Learn From It!)
When you put the new Fast Fab Push Rod tubes together, don't make the same mistake I did.
Make sure you put a tiny bit of lubricant on the o-rings before you push them together. If you don't, they won't spring easily and you'd wreck all the o-rings... which is what I did.
It took me about 10 attempts to get the right replacement o-rings. Don't be me. Use lubricant from the start.
Top Tip: Lubricate the O-Rings!
If you set them up with a bit of lubricant, they're so easy to fit. They spring out to create a perfect seal. You might need to adjust them slightly, but once they're in place, you should have eradicated a pretty common oil leak.
Use a tiny dab of silicone grease or even just clean engine oil. Just something to help them slide together smoothly.
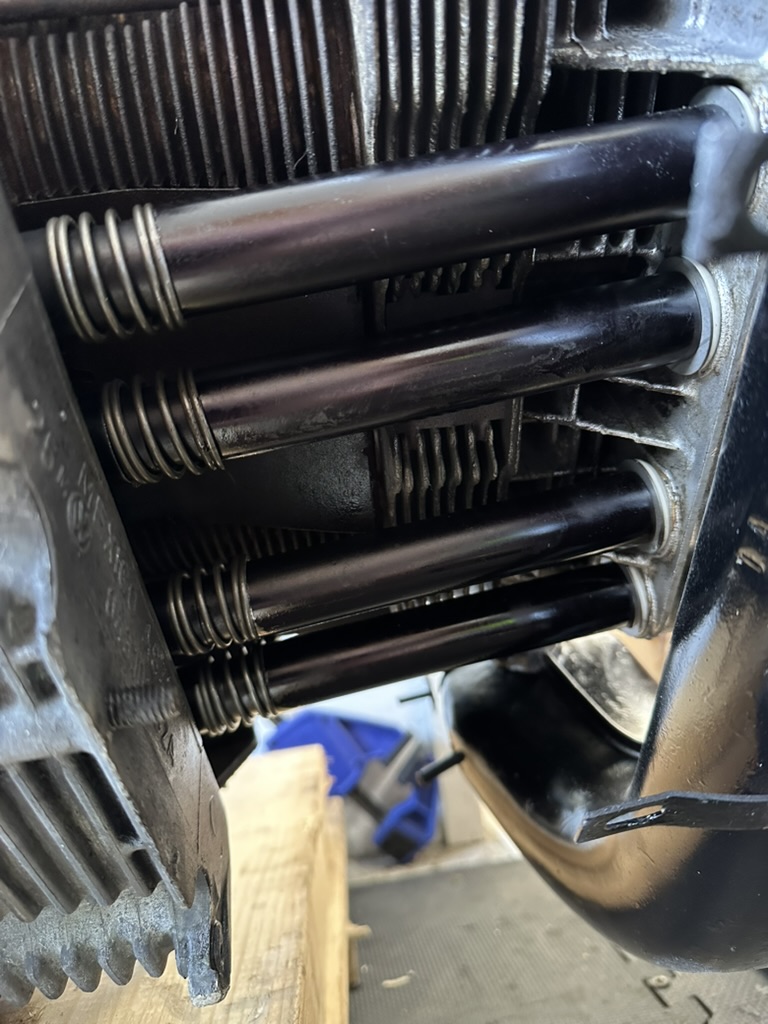
New Push Rods in place and sealed nicely. Much better than the knackered old ones.
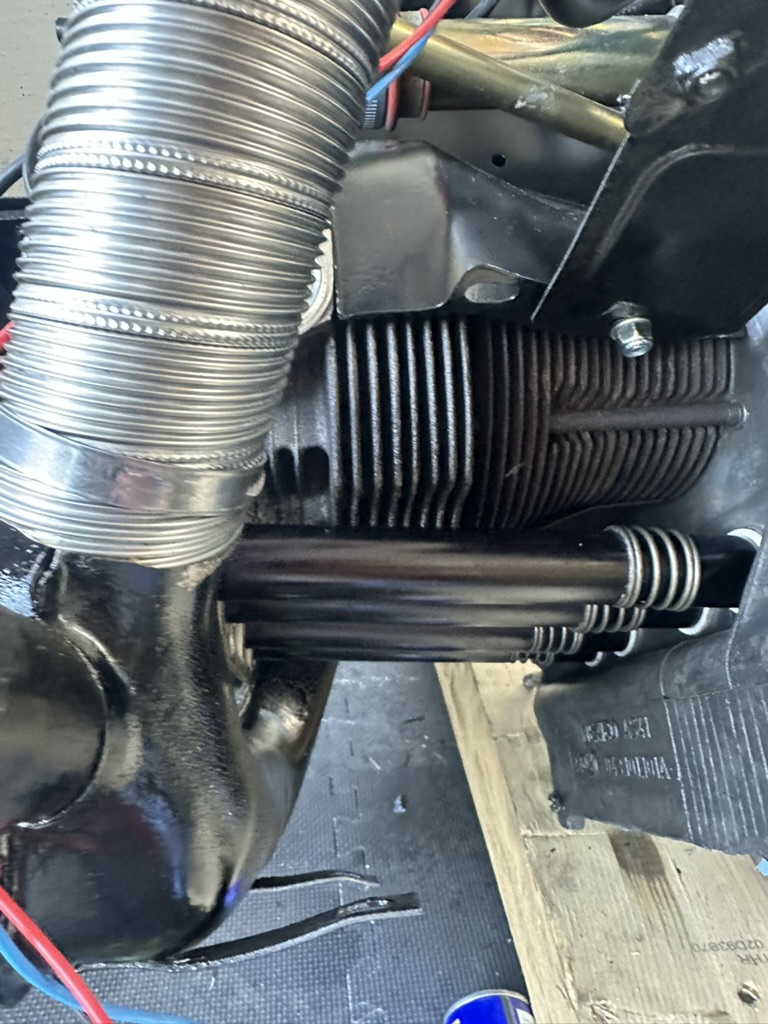
The Result: Oil-Free Push Rods
After the whole engine rebuild was done and everything went back together, I'm happy to report that the push rod tubes are completely oil-free. No leaks. No seepage. Just clean, dry tubes doing their job.
Combined with fixing the oil cooler and replacing all the other dodgy seals, Jenny's engine is now properly sealed up. No more oil puddles on the driveway.
Another shot of the new push rods looking oil free. Job done properly.
What You'll Need
- Fast Fab Push Rod Tube Set (Spring-Loaded) - Upgraded tubes with proper o-rings
- Brake Cleaner - For cleaning the old oil off
- Silicone Grease - Tiny dab on o-rings before assembly
- Big screwdriver - For bending out old tubes
- Labels/marker - For marking push rod order
- Camera/phone - Take photos of everything before removal
Final Thoughts
Push rod tube leaks are common on VW air-cooled engines. If you're pulling your engine for any reason (oil cooler, rebuild, whatever), it's worth upgrading to the Fast Fab tubes while you're in there.
Yes, they're more expensive than standard tubes. But they're better quality, easier to seal, and you won't be doing this job again in a few years.
Just remember: lubricate the o-rings. Learn from my 10 failed attempts. Don't be me.
Related Posts
- 🔧 Complete Engine Rebuild Guide - The full story of pulling and rebuilding Jenny's engine
- ⚙️ Weber Carb Installation - Another upgrade from the engine rebuild
- 🛠️ VW Maintenance Schedule - Keep your engine leak-free