Electric Fuel Pump for VW Bay Window: Why I Made the Switch
My mechanical pump had issues. So I chose to install a Facet electric pump. Here's exactly why, what I did, what it cost, and whether it's the right choice for your van.
Quick note: There's nothing wrong with the mechanical fuel pump. Thousands of Bay Windows still run them fine. This is about what I chose to do with my van after a couple of issues. Personal preference, not a necessity.
What You'll Need
Here's the full shopping list for this job. I've linked everything I used — these are affiliate links which help keep this site running at no extra cost to you.
Parts & Products
- Facet Electronic Fuel Pump — the main event. Get the correct low-pressure model for a carburetted engine (not the high-pressure version for injected engines).
- Mechanical Fuel Pump Blanking Plate — essential. Once you remove the mechanical pump, this seals the hole in the engine case.
- Malpassi Filter King Fuel Pressure Regulator — critical when running a Weber carb. More on this below.
- Fuel-grade rubber hose — don't scrimp here. Use proper ethanol-resistant fuel hose throughout.
- Jubilee clips (hose clamps) — you'll need several. Use proper fuel-grade stainless ones.
- Inline fuel pressure gauge — essential for setting the regulator correctly. But see the critical warning below before you buy this.
Books I Used
Why a Facet Pump?

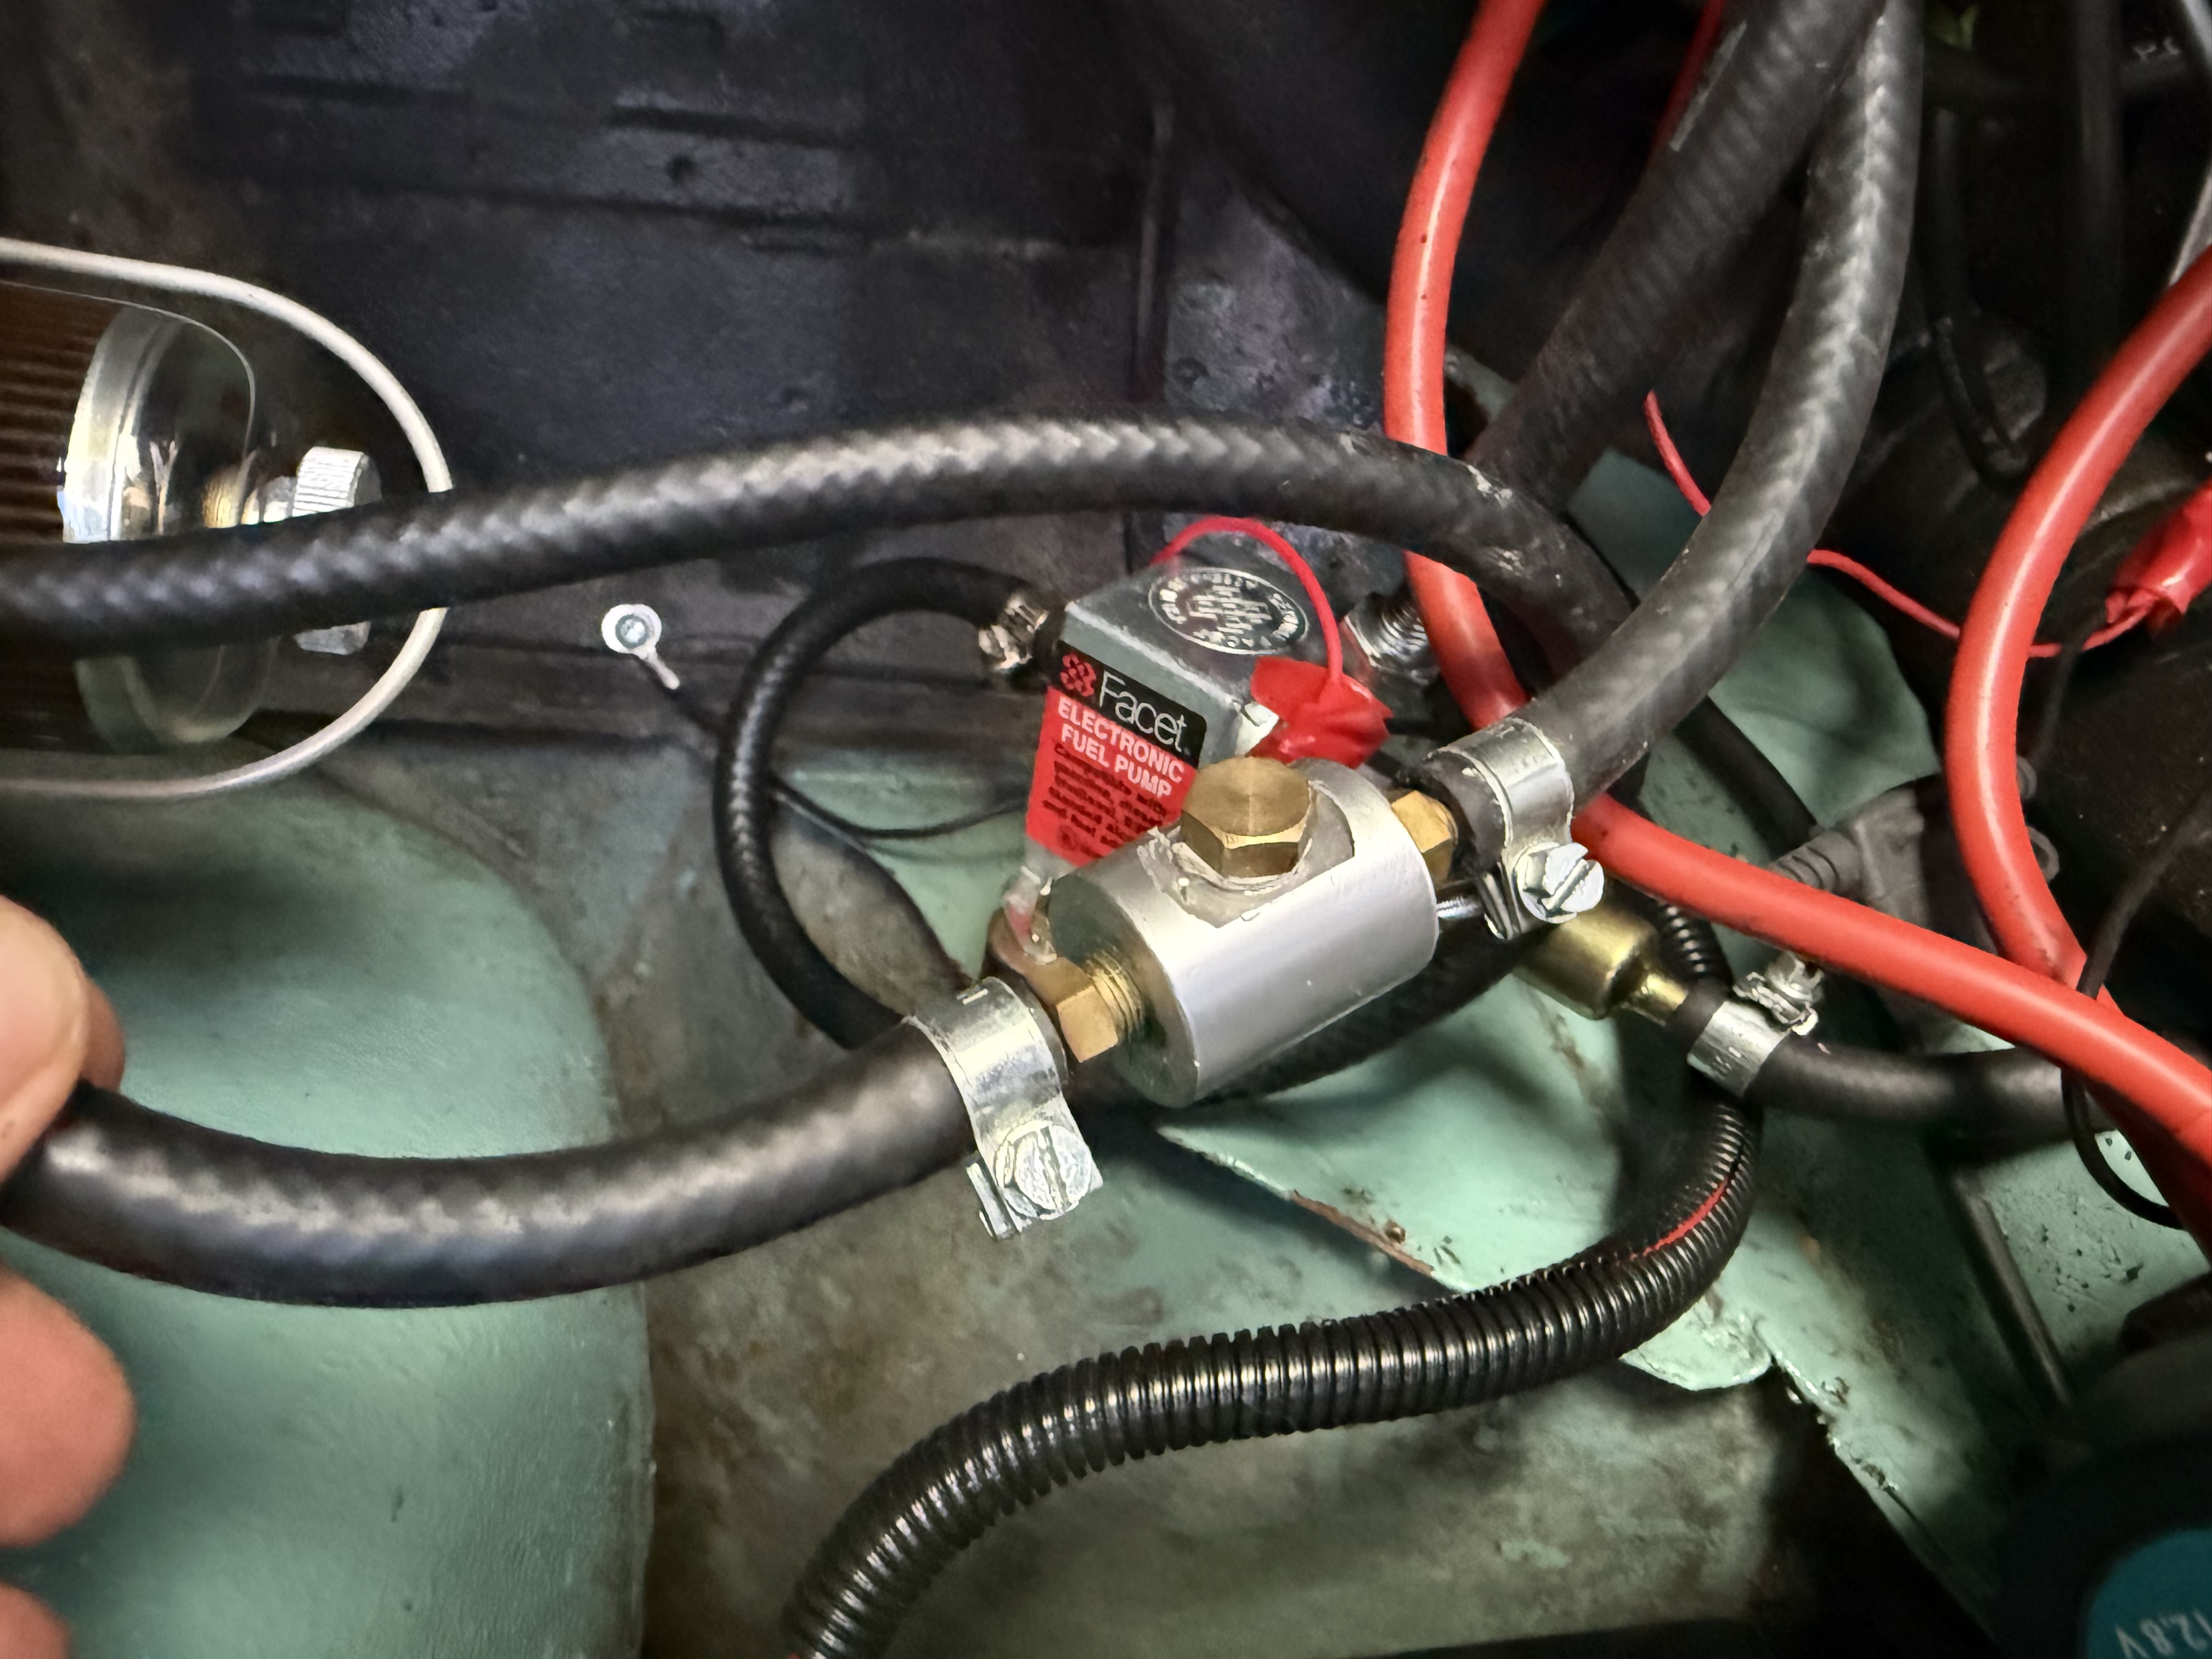
The Facet pump fresh out of the box — compact, simple, and widely used in the VW community.
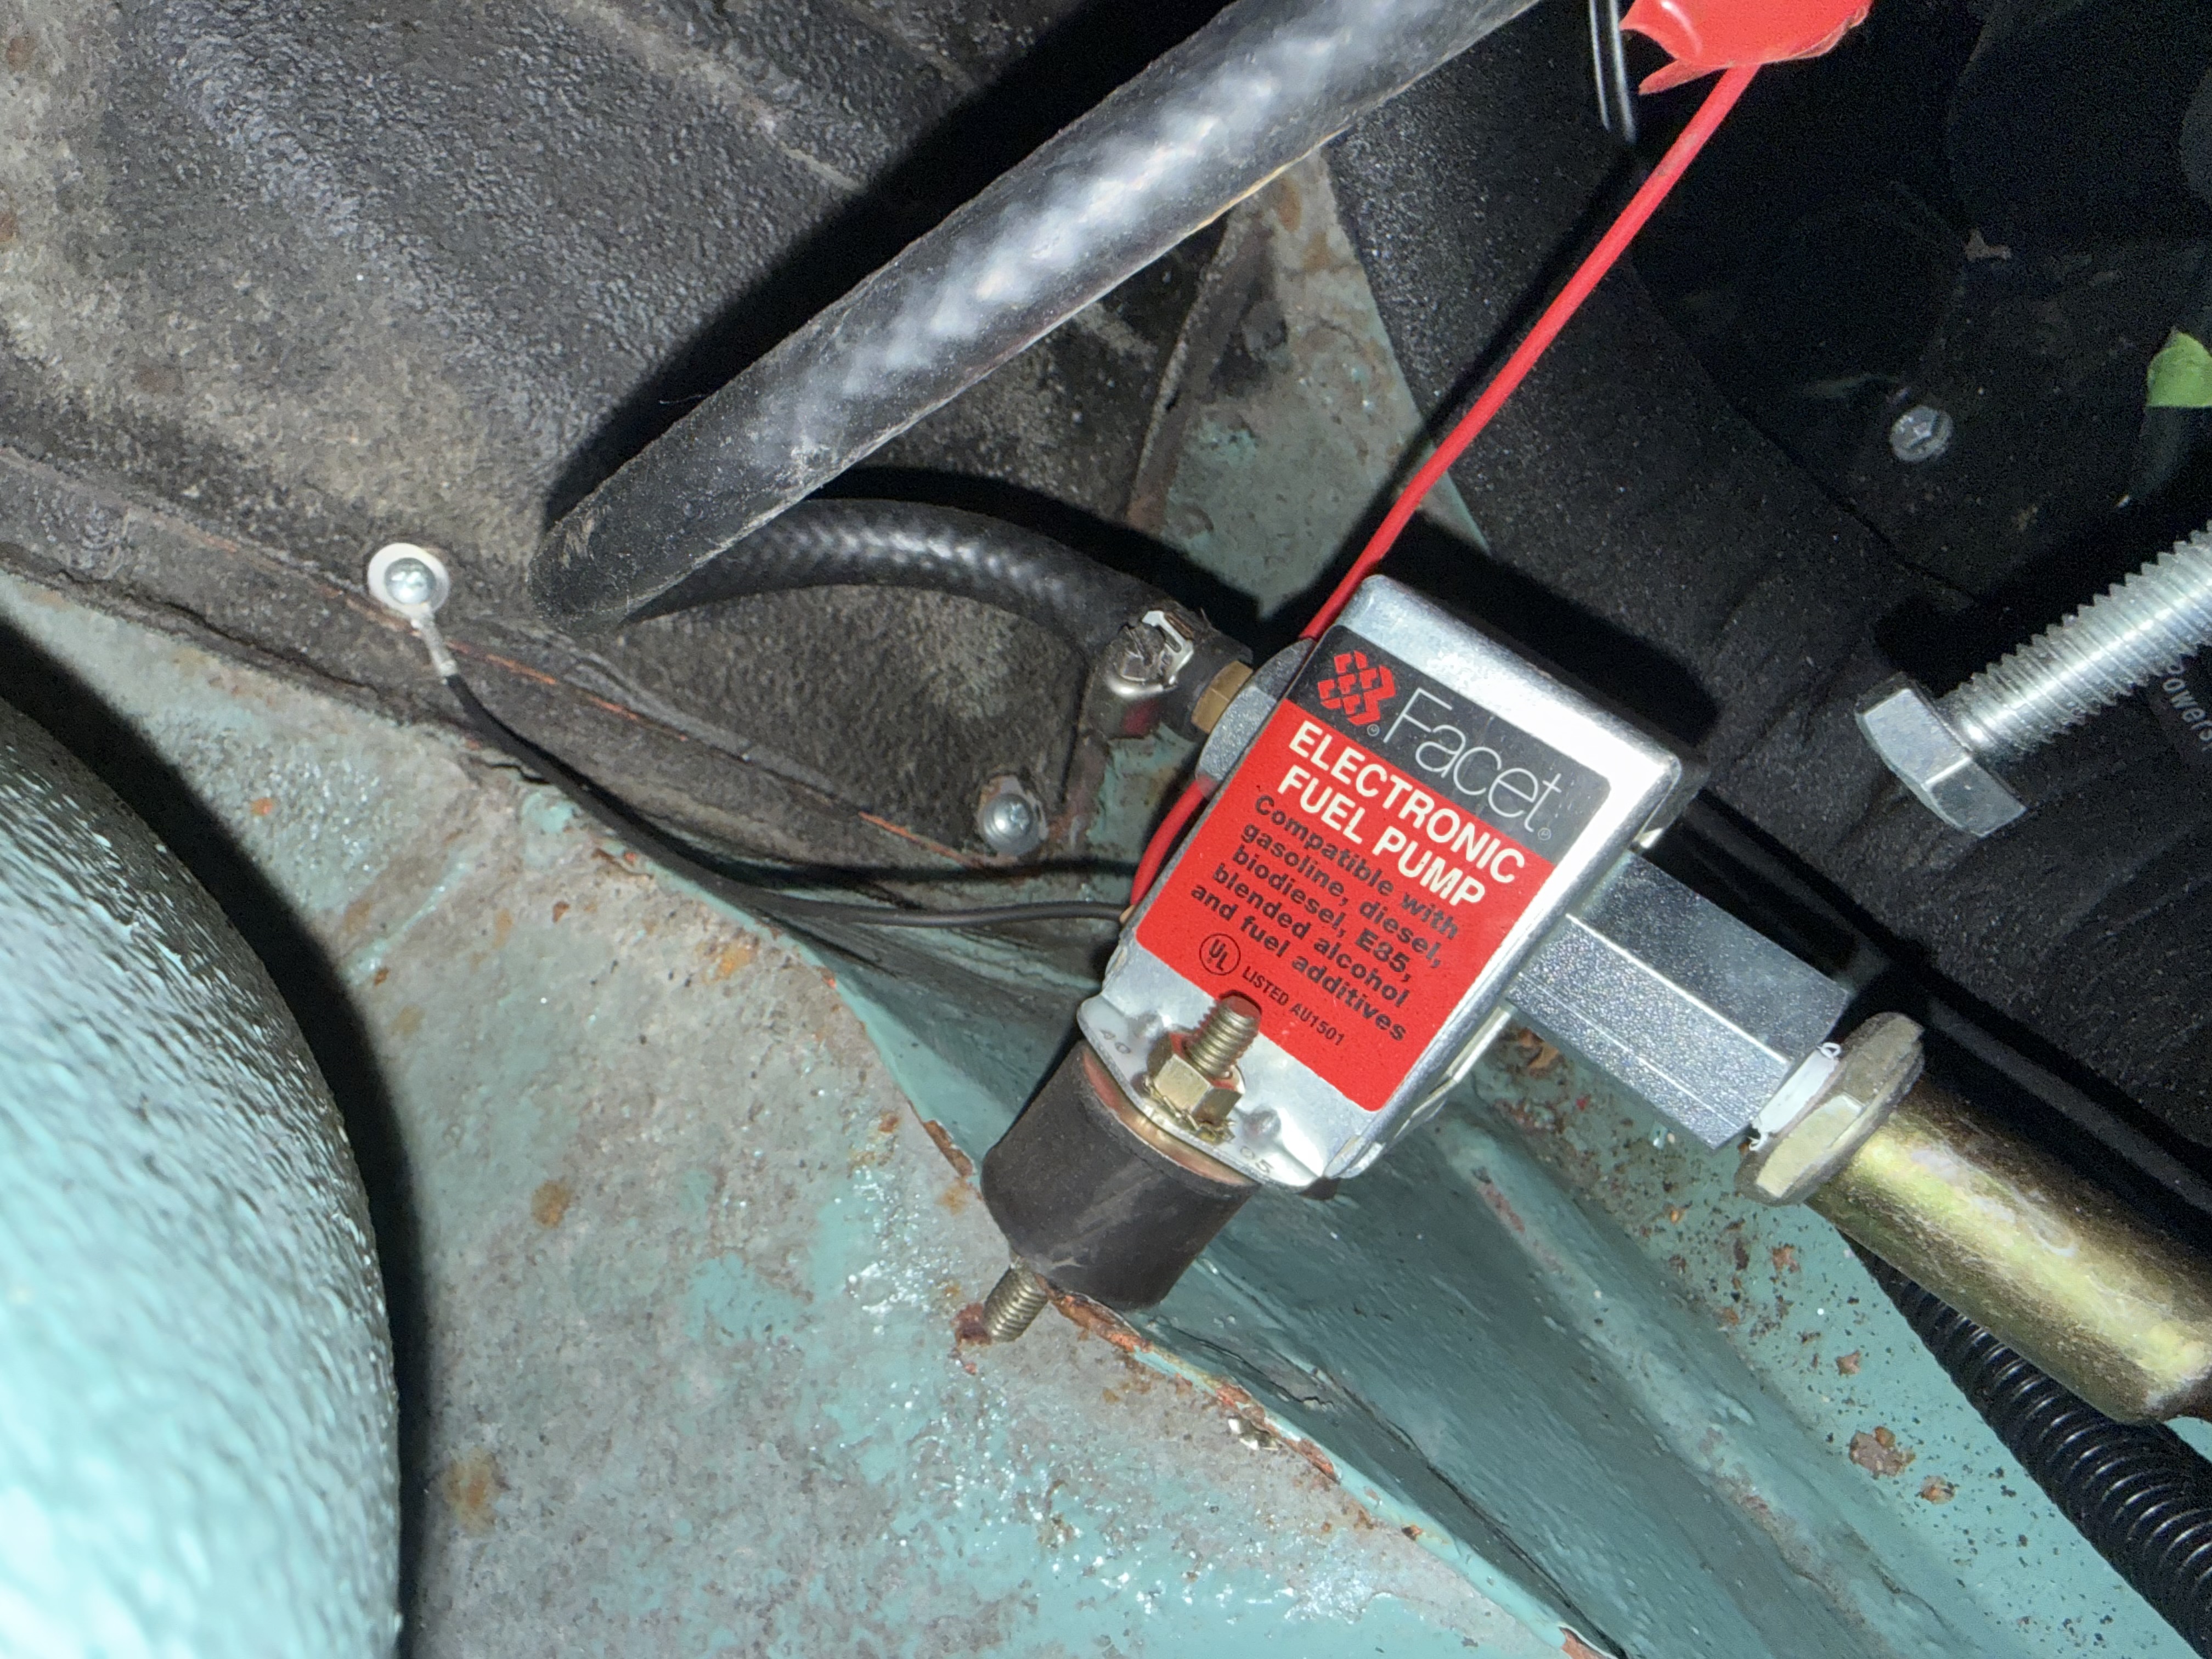
The Facet pump in detail — showing the solenoid coil and fuel ports. This is what you'll be mounting near your fuel tank.
The Facet is a popular choice in the VW Bay community for a few good reasons. It's a low-pressure solenoid-operated pump that's well suited to carburetted engines, it's compact enough to tuck away neatly, and there's a huge amount of real-world experience with them on Bays and Beetles online if you run into any issues.
One thing to be aware of: the Facet is better at pushing fuel than pulling it. This means the best mounting position is as close to the fuel tank as possible — ideally below it or at the same level — so it's pushing fuel to the engine rather than trying to suck it from a distance. On a Bay Window, mounting it near the rear on the nearside chassis rail or inner arch works well, keeping the pump close to the tank outlet.
Mount it on rubber bobbins rather than bolting it directly to bare metal. The Facet produces an audible ticking when it's running — it's perfectly normal, but rigid mounting transfers that vibration into the body and makes it much more noticeable in the cab.
Wiring It Up
The wiring is straightforward but needs to be done properly — you don't want an unswitched fuel pump running continuously. The pump should be wired so it only runs when the ignition is on. The two standard approaches are:
Simple wiring: Run a fused feed (6 amp fuse) from a switched ignition live — the coil positive terminal works well — to the pump positive wire. Earth the pump to the chassis with a clean, paint-free connection. This is what I did and it works reliably.
Via a relay: The more complete solution is to wire the pump through a relay, which protects your ignition switch from the pump's current draw. It also makes it easy to add a priming switch on the dash, which lets you pressurise the fuel system before cranking — handy for cold starts after the van has been sitting for a while.
Whichever approach you use: always fuse the live feed. VW never fused the ignition circuit on these vans, so you need to add your own protection. A 6 amp inline fuse is standard for the Facet.
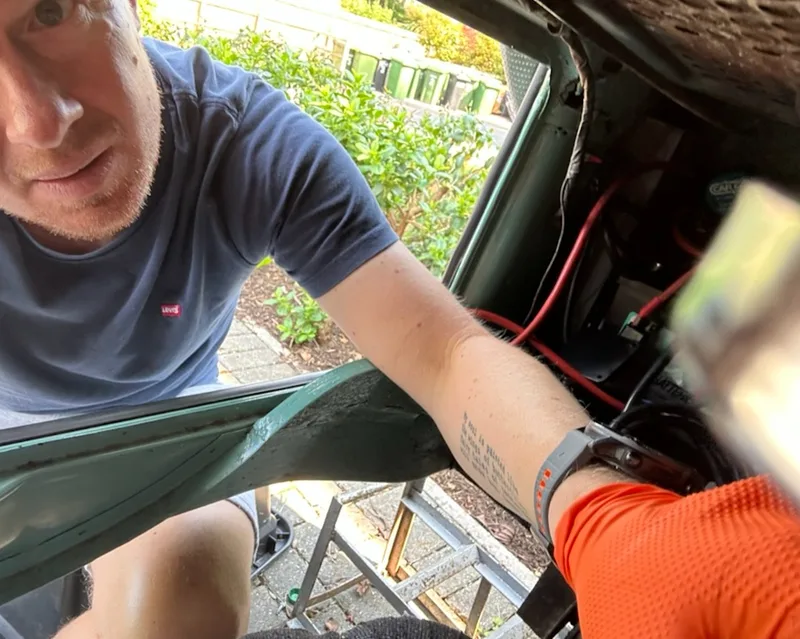
Getting familiar with the engine bay — this is not a glamorous job but it's very achievable if you take your time.
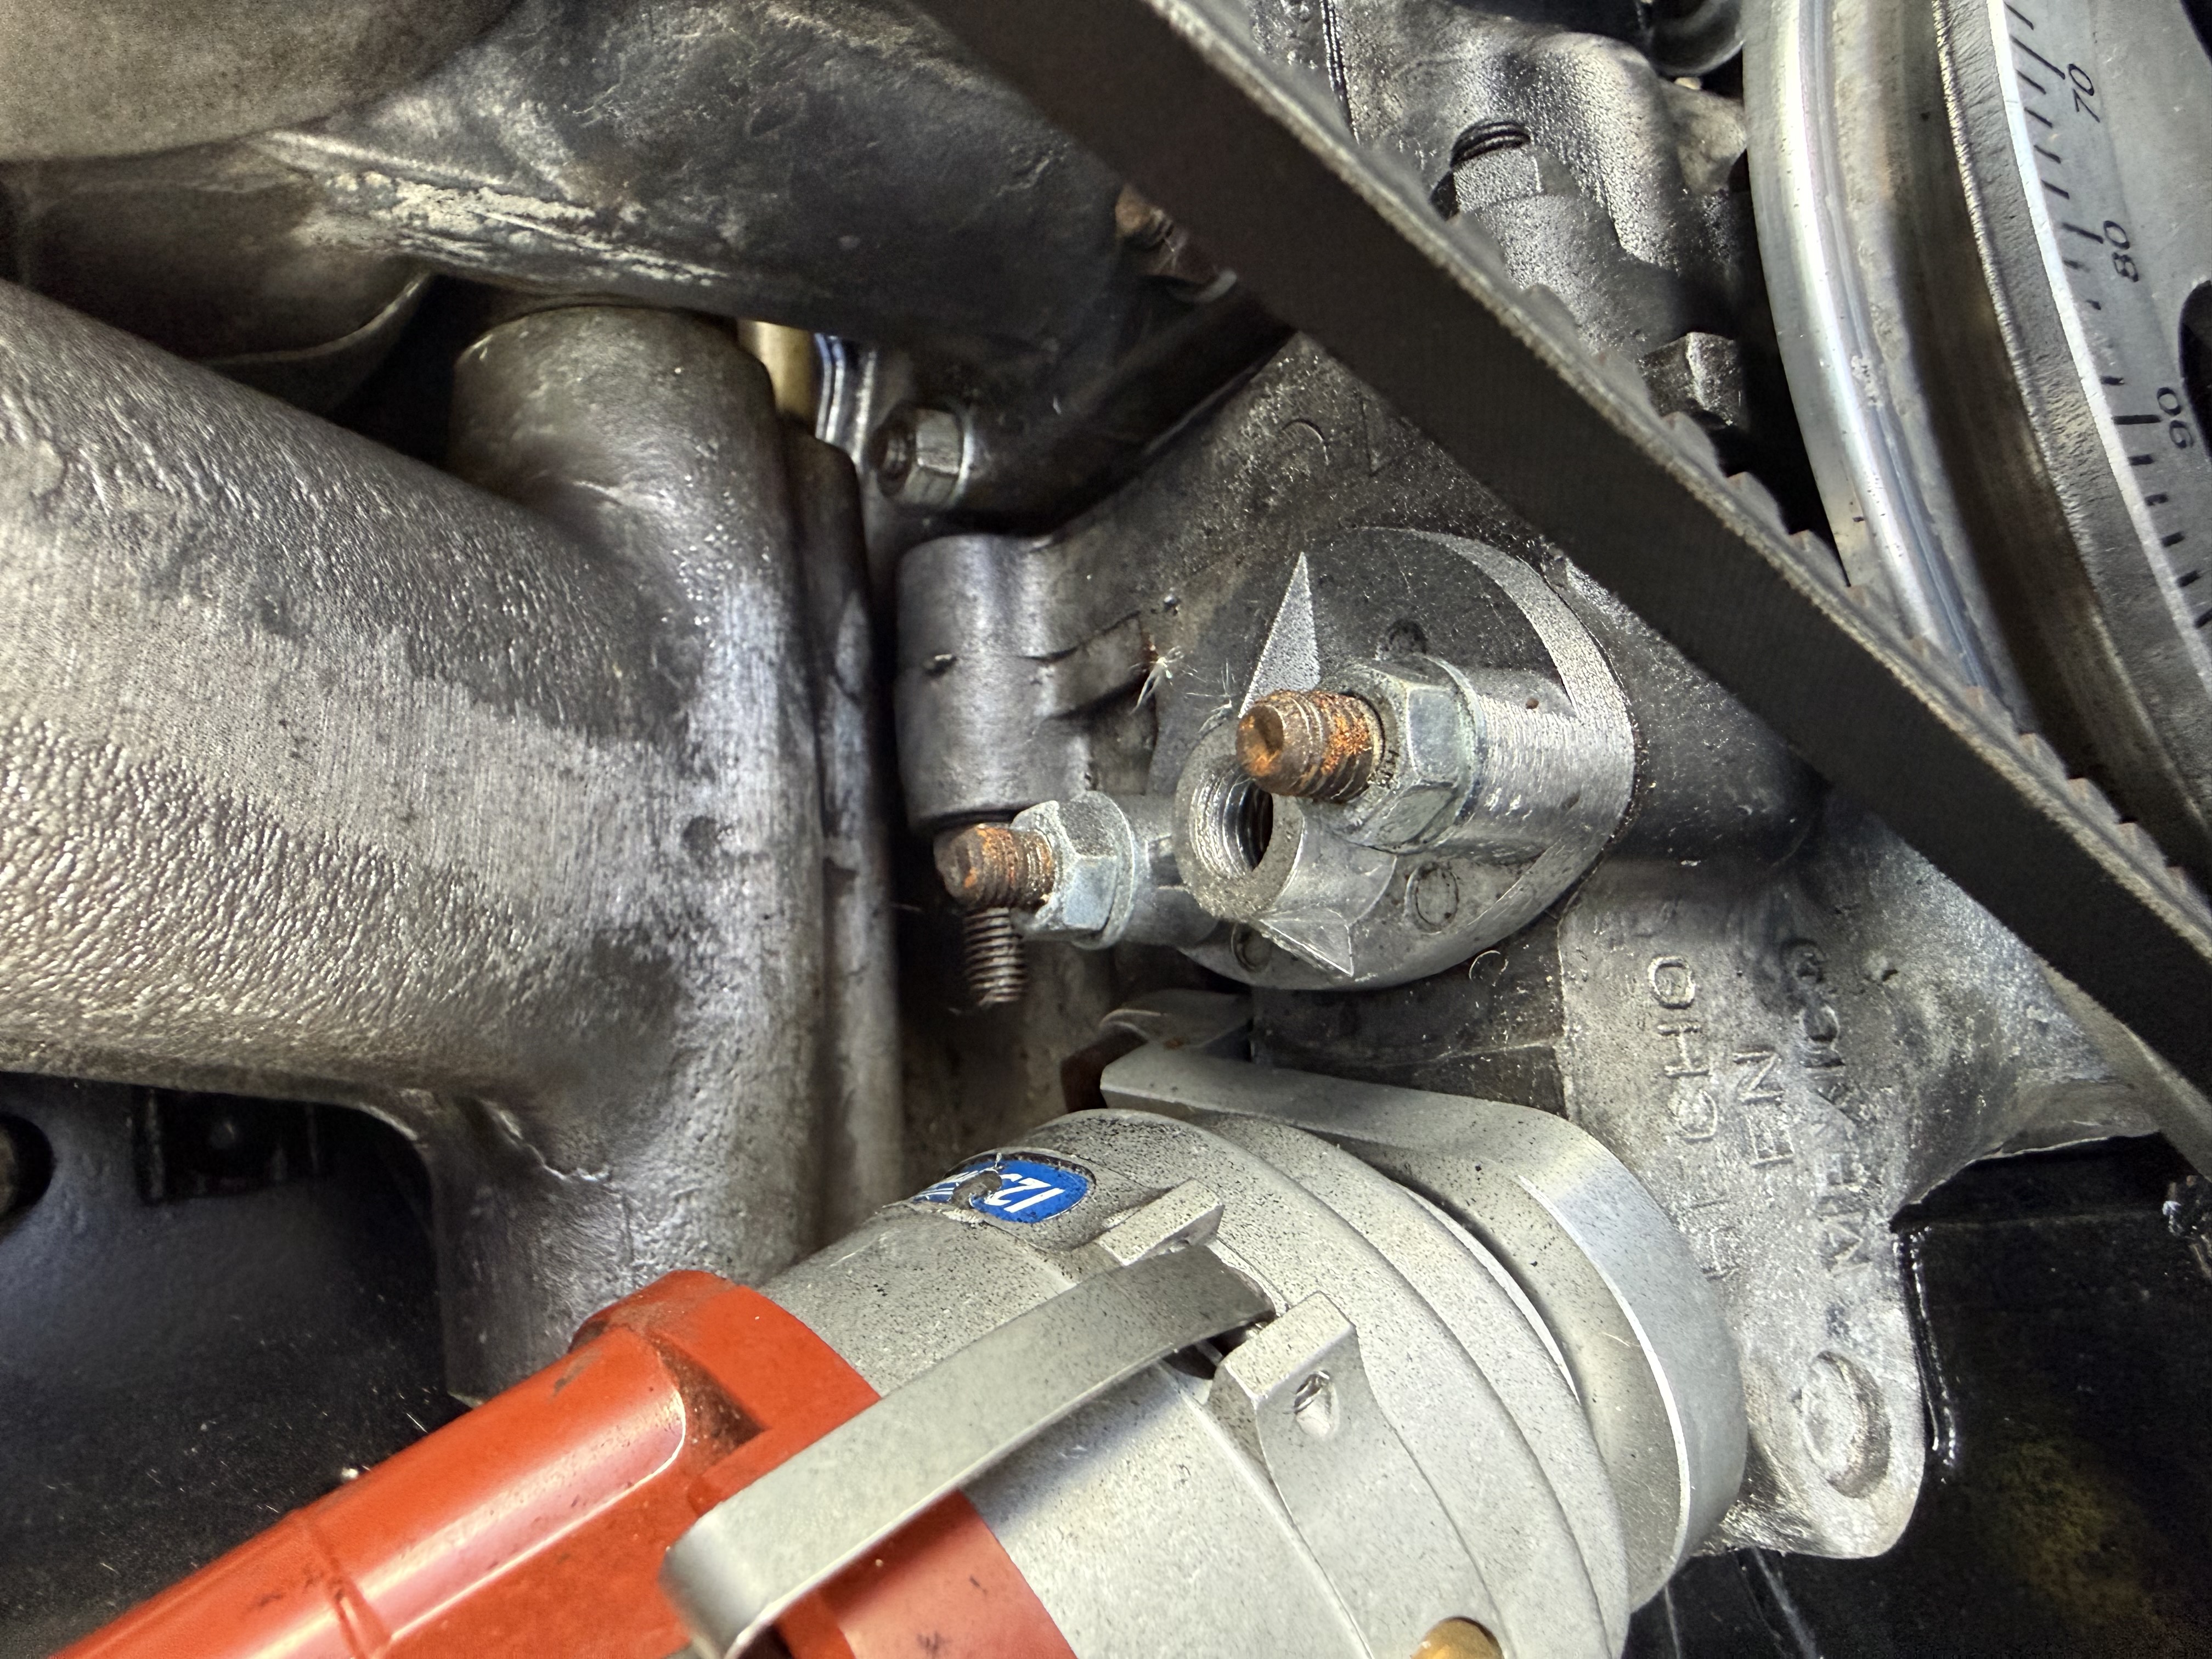
Removing the Mechanical Pump & Fitting the Blanking Plate
The blanking plate — this seals the mechanical pump aperture in the engine case once you remove the original pump.
Once you've removed the mechanical pump — two bolts, a bit of wiggling, and watch for fuel spillage — you'll be left with an open hole in the engine case where the pump pushrod sits. This needs to be sealed with a blanking plate. Don't skip this step and don't leave it open even temporarily. The pushrod will drop into the engine if you're not careful, and the hole allows unfiltered air into the crankcase.
The blanking plate bolts straight in where the old pump lived, with a new gasket. It's a five-minute job but an important one. Clean up any old gasket material from the mating surface before fitting the new one.
Why You Need the Malpassi Fuel Pressure Regulator
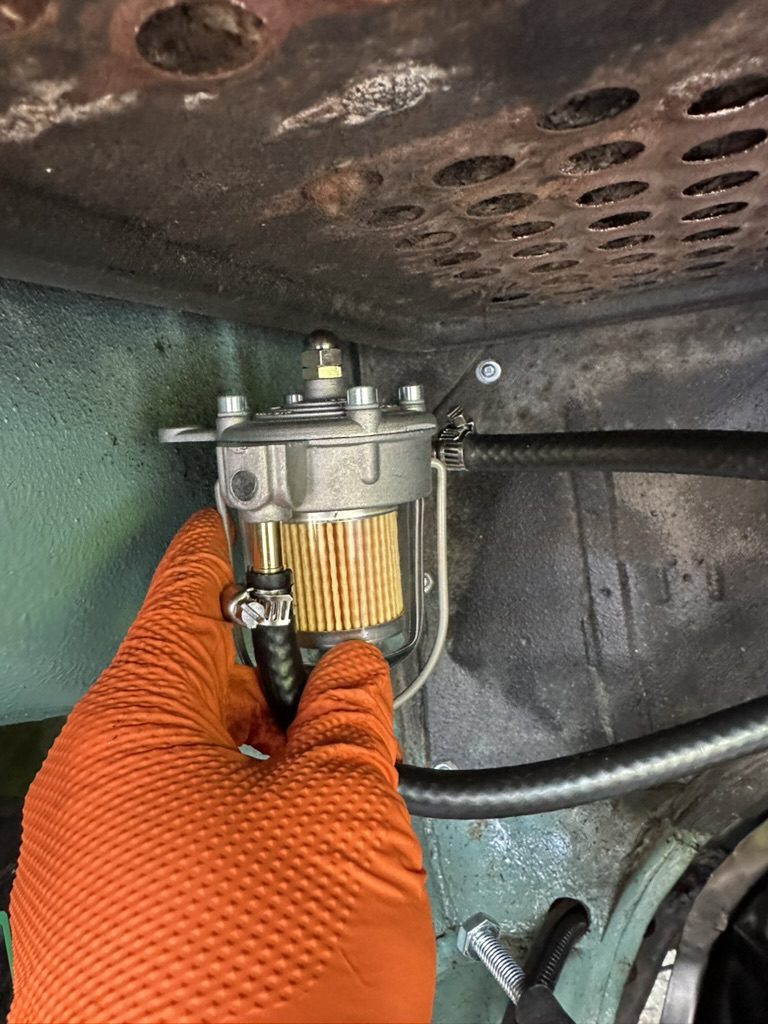
The Malpassi Filter King regulator fitted and plumbed in — it also acts as an additional fuel filter, which is a bonus.
The Malpassi regulator up close — you can see the adjustment screw on top. This is what you'll dial in to 2.5 PSI for your Weber carburettor.
This is where a lot of people come unstuck. The Facet pump puts out more pressure than a Weber carburettor is happy with. The Weber 32/36 wants to see somewhere between 2.5 and 3.5 PSI — push more than that through it and you'll be forcing fuel past the needle valve in the float bowl, flooding the carb, running rich, and potentially causing all sorts of running issues.
The Malpassi Filter King regulator sits in the fuel line between the pump and the carb and drops the pressure down to the correct level. It's adjustable, it doubles up as a filter, and it's a well-proven bit of kit in the VW world. Mount it as close to the carb as possible — on the firewall near the engine — to get the most accurate pressure at the carburettor inlet.
⚠ Critical: Remove the Pressure Gauge After Setting
To set the regulator correctly, you fit an inline fuel pressure gauge temporarily into the fuel line, start the engine, and adjust the regulator until you're reading 2.5–3 PSI.
Once you've set the pressure, remove the gauge and replace it with the permanent blanking plug on the connector. Do not leave the inline gauge fitted permanently.
The inline gauges are great for setting pressure but they tend to leak over time — they're simply not designed for permanent installation in a running fuel system. I made the mistake of leaving mine in, and it was a member of the VW Bay Window Facebook Forum who spotted it and pointed it out to me. A fuel leak near a hot engine is not something you want. Fit it, set the pressure, remove it, blank it off. Job done.
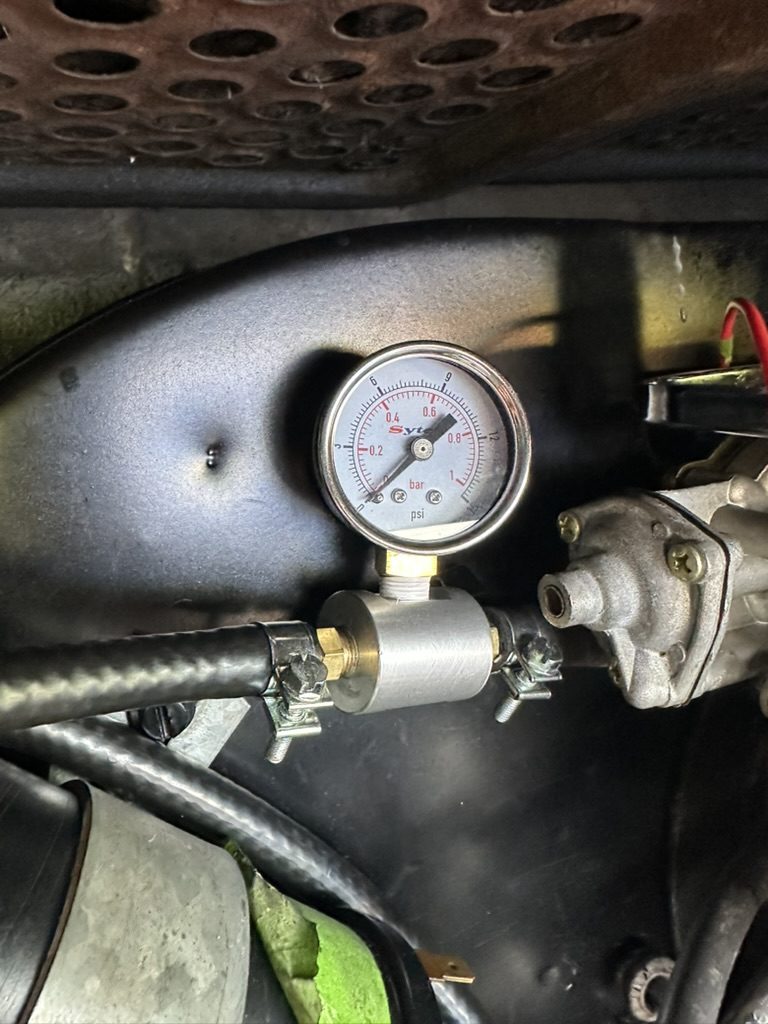
The inline pressure gauge temporarily fitted to dial in the Malpassi regulator. Remove it once you've set the pressure and replace with the blanking plug.
The Installation: Step by Step
Here's how I approached the full job. Take your time, work safely, and make sure the engine is cold before you start touching anything fuel-related.
- Disconnect the battery. Always. Non-negotiable when working on fuel systems.
- Remove the mechanical fuel pump. Two bolts, disconnect the fuel lines (have a rag ready), and carefully withdraw the pump and pushrod together. Keep the pushrod — you'll need to make sure it doesn't fall into the engine.
- Fit the blanking plate. Clean the mating surface, fit a new gasket, and torque the bolts down evenly. Don't overtighten.
- Mount the Facet pump. Near the rear of the van, close to the fuel tank outlet. Mount on rubber bobbins. Make sure the arrow on the pump body is pointing in the direction of fuel flow (towards the engine).
- Run new fuel hose from the tank outlet to the pump inlet, and from the pump outlet towards the engine. Use proper ethanol-resistant fuel hose and secure every joint with jubilee clips — two clips per joint for fuel-carrying connections is good practice.
- Mount the Malpassi regulator on the firewall in the engine bay, between the pump outlet and the carburettor inlet. This is also where you'll temporarily fit the inline pressure gauge for setting up.
- Wire up the pump. Fused live feed from a switched ignition source, earth to clean bare chassis metal.
- Reconnect the battery, turn the ignition on (don't crank yet), and check every fuel connection for leaks. The pump will pressurise the system the moment the ignition is on.
- Start the engine and set the regulator. With the inline gauge fitted, adjust the Malpassi until you read 2.5–3 PSI. On my Weber 32/36, I found 2.5 PSI worked well.
- Shut the engine off, remove the inline gauge, and fit the blanking plug. Check all connections one final time, then start the engine again and check for leaks.
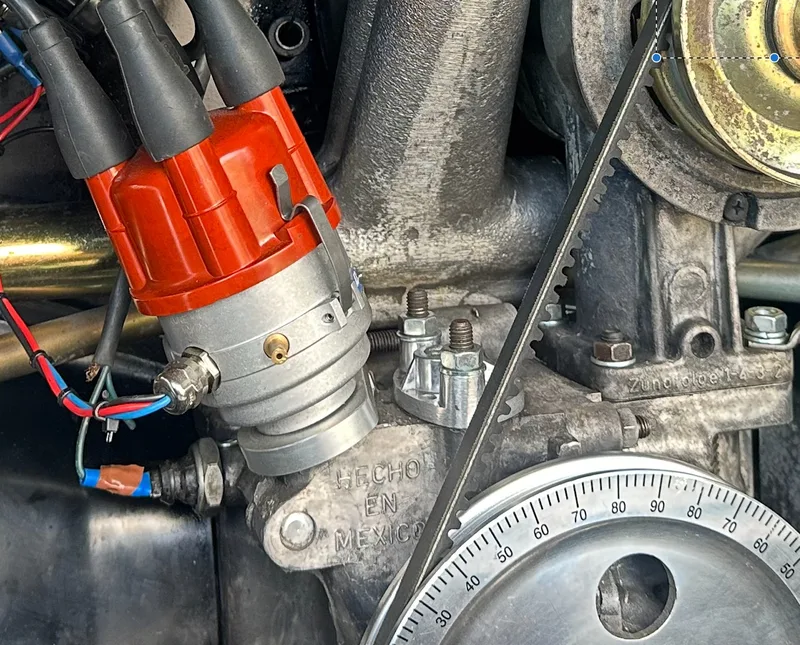
The complete installation in the engine bay — Facet pump mounted to the rear, regulator on the firewall, and all fuel lines properly routed and clamped.
How It's Running
I've been running the electric pump for a few months now and I'm genuinely pleased with it. Jenny's been running better than ever — smoother throttle response, consistent fuelling, and that background anxiety of "is the pump going to give up on the M6?" has pretty much gone.
I can't claim the electric pump alone is responsible for all of that — it was one of the last jobs on a full engine rebuild that included a new clutch, oil cooler, fresh seals throughout, a Weber carb, and Bilstein shocks. But consistent fuel delivery matters, and knowing the pump isn't going to fail mid-motorway is worth every penny of what this cost.
For context, I took this on as part of a wider engine rebuild and it was well within the capabilities of a home mechanic with a decent set of tools and a willingness to read up first. If you're comfortable with basic plumbing and electrics, it's a very achievable job.
Rough Parts Cost
Prices vary but here's a rough guide at the time of writing:
- Facet fuel pump — approx. £30–45
- Blanking plate — approx. £10–15
- Malpassi Filter King regulator — approx. £35–50
- Fuel hose (per metre) — approx. £5–8
- Jubilee clips (pack) — approx. £5–8
- Inline pressure gauge (temporary use) — approx. £8–12
Total: approximately £90–130 all-in, depending on where you source parts. For the peace of mind on a family camping trip, I'd do it again without hesitation.
Common Questions
Do I need a fuel pressure regulator with a Facet pump?
If you're running a Weber carb, yes — absolutely. The Weber 32/36 is sensitive to pressure above 3.5 PSI. Too much pressure forces the needle off its seat in the float bowl and you'll flood the carb. The Malpassi Filter King is the go-to regulator for this job in the VW community.
Where should I mount the Facet pump?
As close to the fuel tank as possible, and ideally below it. The Facet pushes fuel better than it pulls it, so you want gravity helping it rather than hindering it. On a Bay Window, the nearside rear arch area near the tank outlet is a common mounting point.
Will it affect the van's originality or value?
Technically yes — it's not an original part. But the blanking plate installation is reversible. If you ever wanted to go back to a mechanical pump, it's straightforward to do. For a van you actually use and drive, reliability tends to trump originality for most owners.
Is this hard to do?
It's not a beginner's first job, but it's well within reach of a home mechanic who's comfortable with basic plumbing and electrics. The most important things are: read up first, work safely, and don't rush the pressure-setting stage.
Why does my Facet pump tick?
It's normal. The Facet is a solenoid pump and makes an audible ticking when running. If it's mounted directly to sheet metal it can sound surprisingly loud. Rubber bobbins help significantly.
💷 Complete Cost Breakdown: Electric Fuel Pump Installation
Here's the actual cost breakdown for upgrading from mechanical to electric fuel pump, based on real UK pricing (April 2026):
Parts Cost (DIY Installation)
Total Parts (DIY): £255–370 (Our spend: £345)
Key components include: Facet Electronic Fuel Pump (£150), Malpassi Filter King Regulator (£95), Mechanical Pump Blanking Plate (£20), Fuel-grade rubber hose (£25), Jubilee clips (£8), Inline fuel pressure gauge (£15), Wiring fuse holder (£10), Relay (£15), Electrical connectors (£7).
Labour Cost (If Paying Mechanic)
Total Labour (Mechanic): £300–450
Remove old pump (£40–60), fit blanking plate (£20–30), mount electric pump + wiring (£120–180), install regulator (£80–120), test & adjust (£40–60).
Total Installed Cost
- DIY (parts only): £255–370
- Professional Installation: £555–820
- What we spent (full system): £345
Cost vs. Benefit Analysis
- Cheap mechanical pump replacement: £50–80, lasts 2-3 years, limited performance
- Electric pump upgrade: £345–600 upfront, lasts 10+ years, better reliability & performance
- Cost per year (electric): ~£35/year over 10 years
- Peace of mind on family trips: Priceless
⏱️ Difficulty Rating & Time Breakdown
Overall Difficulty: ⭐⭐⭐⭐☆ (4 out of 5 — Moderate)
Why it's not a 3: The wiring is straightforward, but removing the mechanical pump can be tricky if bolts are seized. The regulator setup requires attention to pressure calibration.
Realistic Time Breakdown (DIY)
Total: 4–5 hours (can be done in one afternoon or split over 2 days)
- Remove mechanical pump: 45–90 mins (Medium - bolts may be seized)
- Fit blanking plate: 15 mins (Easy)
- Mount Facet pump: 30 mins (Easy)
- Run fuel hoses: 45 mins (Medium)
- Mount Malpassi regulator: 20 mins (Easy)
- Wiring: 45–60 mins (Medium)
- Test & calibrate: 30 mins (Medium)
Required Tools
Essential: Socket set, spanners, screwdrivers, hose clamps, wire crimpers, fused feed wire
Highly Recommended: Penetrating oil, blow torch, axle stands, trolley jack, multimeter
🔄 Electric Pump vs. Mechanical Pump Comparison
Quick comparison: Electric pumps cost more upfront (£250–350) but last 10–15 years vs mechanical at 2–5 years. Reliability, cold starts, and E10 fuel compatibility all favor electric. Cost per year: £30/year electric vs £40/year mechanical.
⚡ Real-World Performance Data
Fuel Delivery Performance (Facet 40105)
- Max Pressure Output: 5.5 PSI (unregulated)
- Flow Rate: ~40 liters/hour at full pressure
- Current Draw: 3–4 amps at 12V
- Noise Level: 70–75 dB (audible tick, normal)
Weber 32/36 Carburettor Requirements
- Optimal Pressure: 2.5–3.0 PSI
- Maximum Safe Pressure: 3.5 PSI
- Malpassi Regulator Range: Adjustable 0–5 PSI (set to 2.5 PSI)
Expected Fuel Consumption Impact
The electric pump makes no difference to fuel consumption. What improves: Cold starts, consistency, reliability — not fuel economy.
🔧 Troubleshooting & Maintenance
Common Issues After Installation
- Pump won't prime: Check fuse, verify 12V at pump, check ground
- Fuel leak at connections: Re-clamp all joints, ensure proper fuel hose
- Engine floods: Reduce regulator pressure to 2.5 PSI
- Engine starves for fuel: Increase pressure to 3.0 PSI, check filter
- Pump sounds loud: Normal for Facet if consistent; irregular = electrical issue
- Pump won't turn off: Check wiring diagram, relay may need replacement
- Pressure gauge reads zero: Swap gauge with known good unit, check regulator
Maintenance Schedule
- Every 1,000 miles: Visually inspect for fuel leaks, listen for pump noise changes
- Every 10,000 miles: Check inline fuse, inspect fuel hose
- Every 20,000 miles or annually: Replace fuel filter element, inspect regulator
- If Pump Fails (lifespan 10+ years): Replacement cost £120–180, 20-minute swap
❓ Frequently Asked Questions
Do I need an electric fuel pump for a carburetted engine?
Not strictly necessary if your mechanical pump is healthy, but electric pumps offer better reliability with modern E10 fuel. Worth the upgrade for peace of mind on long trips.
Can I use a high-pressure pump meant for fuel injection?
No. Injection pumps deliver 35–60 PSI, which will blow out your carburetor float bowl. Use a low-pressure pump (4–5 PSI max) designed for carburetors.
What's the correct fuel pressure for a Weber 32/36?
2.5–3.0 PSI. Set it with an inline gauge while the engine idles.
Why does my pump make a clicking noise?
Facet solenoid pumps naturally click — it's the internal solenoid pulsing. As long as consistent and fuel flows normally, it's fine. Irregular clicking means failure.
How long does an electric fuel pump last?
A quality Facet pump typically lasts 10–15 years or 100,000+ miles, depending on fuel quality and temperature.
Can I leave the pump running after the engine shuts off?
No. Always wire it to only run when ignition is on. Leaving it on pressurizes the fuel system and risks leaks.
Do I need a fuel pump relay?
Optional but recommended. A relay reduces electrical wear on the ignition switch and extends its life.
How do I know if my old mechanical pump is worn out?
Weak cold starts, inconsistent idle, fuel leaks, or visible corrosion are signs. A fuel pressure gauge will show pressure dropping as RPM increases.
Can I reinstall the mechanical pump if this doesn't work out?
Yes. You'll need the original pump and a new gasket. The blanking plate can be removed. It's mechanically reversible.
🔧 Related Engine & Fuel System Guides
- ⚙️ Complete 1600cc Engine Rebuild — The foundation for all these upgrades
- 🔩 Weber Carburetor Installation — Works perfectly with electric fuel pump
- 🚗 Vintage Speed Exhaust — My favourite £600 upgrade
- 📋 Maintenance Schedule Guide — Keep everything running smoothly + free PDF checklist